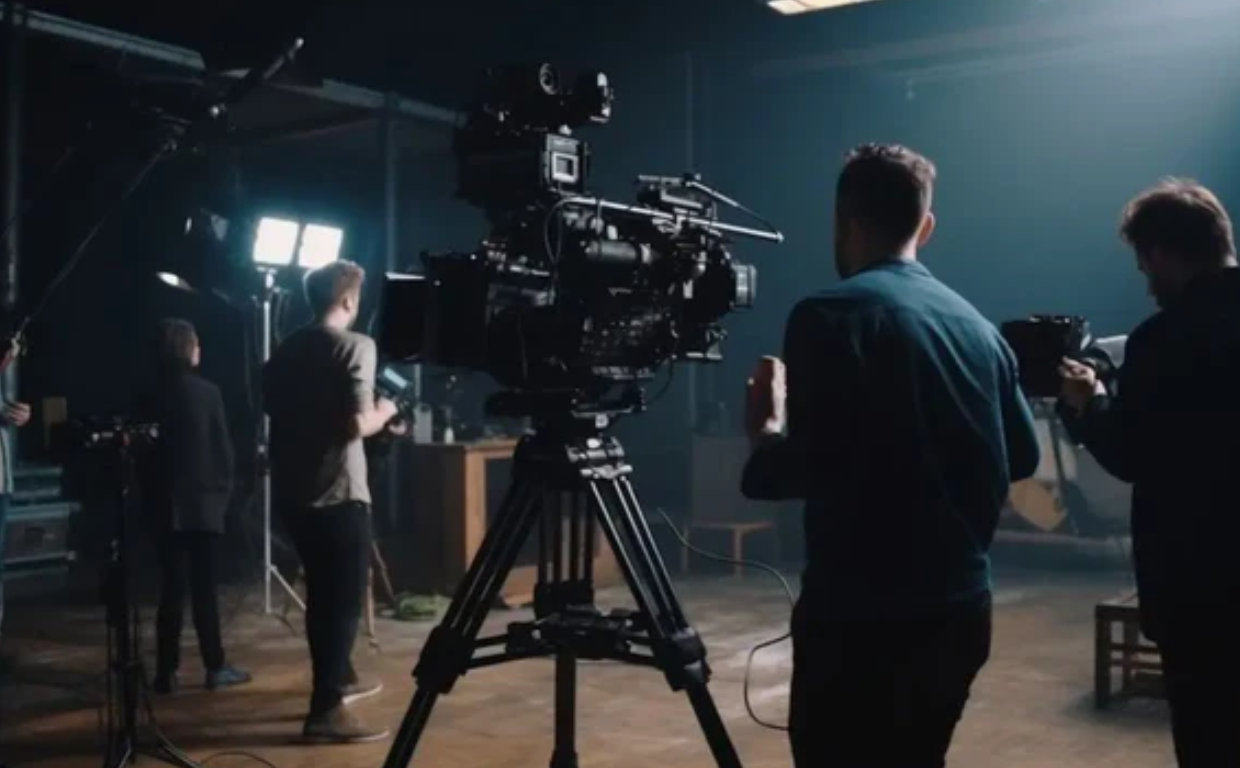
Lighting can make or break your video. Whether you’re filming content for marketing, social media, or internal use, understanding how to use light effectively is one of the fastest ways to improve your video quality. Here’s what every beginner needs to know.

Why Lighting Matters in Video
Lighting sets the mood, enhances the subject, and ensures visual clarity. Without proper lighting, even a high-quality camera will produce dull or grainy footage. It’s one of the key differences between amateur and professional videos.
Good lighting helps viewers focus on your subject and eliminates distractions caused by shadows or inconsistencies. It also brings out details and creates depth in your frame.
In marketing and branding videos, lighting can subconsciously influence how viewers perceive your message—professional, dramatic, friendly, or serious.
Natural lighting is useful, but it’s often unpredictable. Understanding basic artificial lighting gives you full control over your production.
Whether you’re recording indoors or outdoors, light placement and balance are crucial for producing a clean and appealing image.
At Mahi Media Solutions, our video team prioritizes lighting design as part of every shoot, regardless of budget or location.
Understanding Three-Point Lighting
Three-point lighting is the foundation of most professional video setups. It includes a key light, fill light, and back light to create balanced, flattering visuals.
The key light is the primary source, typically placed at a 45-degree angle to one side of the subject. It adds definition and highlights.
The fill light, placed on the opposite side, softens shadows created by the key light and adds evenness to the shot.
The back light (or rim light) is placed behind the subject to separate them from the background and add depth.
This technique works in interviews, product demos, explainer videos, and more—creating a natural, cinematic look.
Learn more about our video production approach using professional lighting setups.
Choosing the Right Lights and Accessories
You don’t need expensive gear to get started. LED panel lights, softboxes, and ring lights are beginner-friendly options with adjustable settings.
Use daylight-balanced (5500K) bulbs for a natural look. Avoid mixing color temperatures, as this can cause unwanted color shifts in your footage.
Diffusers or softboxes help spread light evenly and prevent harsh shadows on the subject’s face or background.
If you’re filming on a budget, bounce light off white surfaces (like walls or reflectors) to create softer lighting with fewer shadows.
Portable lights with battery power are great for mobile shooting or interviews outside studio settings.
Mahi Media Solutions helps clients choose affordable lighting solutions that match their production needs.
Avoiding Common Lighting Mistakes
A common beginner mistake is relying too heavily on overhead lighting, which casts unflattering shadows under the eyes and nose.
Avoid placing lights directly behind the subject unless it’s intentional for silhouette or backlighting effects.
Too much lighting can wash out the subject or background. Balance your lights to maintain texture and color accuracy.
Check how light affects reflective surfaces in your scene. Shiny tables, glasses, or windows can cause glare or distractions.
Always preview your shot on a monitor or camera screen before filming to adjust lighting in real time.
Need expert help avoiding these issues? Contact our video production team today.
Using Natural Light Effectively
Natural light is free and beautiful—but it changes constantly throughout the day. Plan your shoots during golden hours (early morning or late afternoon) for soft, warm tones.
Use window light as a key light source. Position your subject facing the window at a slight angle for flattering, even lighting.
Avoid direct sunlight on faces as it causes harsh shadows and overexposure. Use sheer curtains or reflectors to soften it.
Cloudy days provide even, diffused lighting that’s perfect for outdoor interviews or lifestyle shots.
Always have a plan B if you rely on daylight—bring backup lights or reschedule if the weather changes suddenly.
Our team combines natural and artificial lighting for versatile, location-based shoots at Mahi Media Solutions.
Setting the Mood With Light
Lighting is more than just illumination—it creates emotion. Bright lighting feels cheerful and open, while low-key lighting creates drama or mystery.
Use color gels or RGB LED lights to add mood. Blue for calm, red for urgency, or amber for warmth and nostalgia.
Dimming lights or using shadows can make scenes more cinematic and help guide the viewer’s attention.
Lighting contrast can also highlight movement, product features, or emotional moments in your video.
Each lighting choice should align with the message you want to communicate—whether that’s trust, excitement, or clarity.
At Mahi Media Solutions, we craft lighting setups to visually support every script and brand story.
Conclusion
Lighting is one of the most powerful tools in video production. It shapes perception, enhances quality, and drives engagement—even in simple videos.
For beginners, mastering basic setups like three-point lighting can significantly elevate your content.
By understanding how to work with light—natural or artificial—you’ll gain control over your visual storytelling.
From interviews and explainers to ads and reels, the right lighting creates professionalism and trust at first glance.
Let Mahi Media Solutions guide your lighting, shooting, and production needs to ensure you shine on screen.
Explore our Video Production Services or Request a Quote today.


